The first few weeks of a quail’s life are crucial as they are very fragile creatures and can easily die if you don’t take proper care of them. I remember how excited I was to raise my own quail and how gathered every piece of information I could to prepare for their first few days of life.
Keep your baby quail in a brooder in the first 10-15 days after hatching. You need to provide them with a constant temperature of approx. 100°F (37.5°C), proper nutrition, and sufficient water. Keep the brooder draft free and clean. Train their bodies to withstand the natural temperature changes gradually.
Let’s see how you can best prepare their environment to set you up for success.
The move to the brooder
Quail eggs hatch on average after 18 days of incubation, but the hatching day can vary from 17-20 days. This period also varies from egg to egg, which means that some of your quail will be a day old by the time the last ones hatch.
Learn how to raise your own quail and have an unlimited supply of eggs and meat.
The move to the brooder starts a few hours before you remove the incubator’s lid. You must ensure that the brooder has warmed up to 100°F (37.5°C), which is crucial for newborn quail chicks. This is the temperature they hatched at, and any sudden change in temperature can affect the survival rate.
Place some food on a piece of kitchen towel, and fill their fountain with water, and you’re ready to move them (more on the type of food below). Use a kitchen towel or a piece of cardboard instead of a feeder at this stage because these birdies are still tiny and can’t reach up to feed from them.
Also, for water, use a shallow fountain, or place stones or large pebbles in the water bowl so they can’t fall into the water and drown. Quail chicks are tiny and very fragile. They can drown even in inch-deep water.

While it’s tempting to open the incubator box to take a closer look at them or pet them, especially if it’s your first time or if you have children, you should avoid doing this, as the sudden and repeated changes in temperature and humidity come as a shock to them, and can also prevent other eggs from hatching.
You don’t need to remove your baby quail from the incubator immediately; they can stay there for up to two days or even longer after hatching. You don’t need to provide them food and water while they are still in the incubator.
Remember that quail chicks’ feathers are wet when they hatch, and you should wait until they dry before removing them from the incubator.
Baby quail can go without food for as long as three days after hatching as they have nutrients in their body that they absorb from the yolk before hatching. Don’t worry; they won’t starve to death.
The best time to move baby quail from the incubator to the brooder is about 24 hours after hatching. If some eggs still haven’t hatched at this stage, remove the hatched quail as quickly as possible, leaving the incubator exposed for as short as possible.
If you incubate a lot of eggs at the same time, they will all hatch at different times, but usually within a day of each other. My experience is that it’s best to remove the dry quail as the incubator is getting overcrowded with baby quail running around because they kick around the eggs still waiting to hatch. This can cause the quail in the eggs to be moved out of their ideal hatching position. I have lost some quail in the hatching process because I didn’t pay attention to this.
Now that your baby quail have been transferred to the brooder enjoy watching them run around and find food and water!
The first days and weeks
To keep your baby quail alive, there isn’t much to do other than caring for their basic needs. Your main jobs, while they are in the brooder, are:
- Monitoring the temperature and keeping it constant at around 100°F (37.5°C), and gradually dropping it as they grow;
- ensuring they have clean water to drink,
- food to eat, and
- Keeping the brooder clean.
You can feed your baby quail a non-medicated chicken starter, but it’s not the ideal choice as it contains less protein (around 16%) than a gamebird starter (24%+).
Use quail starter or gamebird starter and grind it in the mixer, so the grains are ground small enough for the baby quail to ingest them. If you can’t get your hands on gamebird starter, you can also use turkey or pheasant starter instead, as they are higher in protein than chicken starter.
Quail chicks grow remarkably fast! If you think about the fact that Coturnix quail are fully feathered and ready to move in with adult quail at six weeks of age, this is truly an accomplishment of nature.
After spending a week in the brooder, you can start placing their food in the feeder instead of on a kitchen towel or on a piece of cardboard. At this stage, they are sufficiently big to reach up and feed from it.
Drop the brooder temperature gradually by moving the heat source further from the chicks. This can be done in 5°F (2.5°C) decrements each week, but it’s not an exact science and you can easily tell if your quail are comfortable by observing them.
Baby quail should be kept in the brooder for 10-14 days minimum, but if the box is large enough for the number of birds you have, you can keep them in it for longer.
If you’re planning on moving the quail in with other adult quail already used to living together, the ideal moment to introduce them to their new environment is when they are about six weeks old. This way, they are less likely to suffer an attack from the other quail or to show aggression towards them.
Brooder requirements
Having your brooder well prepared is essential to welcome your baby quail. You should do this while your chicks are still in the incubator waiting to hatch.
The most important job of your brooder is to provide a draft-free environment and a constant temperature of 100°F (37.5°C) without drastic and sudden changes. The more extreme the temperature outside the brooder, the more important this is.
As a rule of thumb, calculate with six baby quail per 1 square foot (0.1 square meter) up to 2 weeks of age and three quail per square foot after week 2. Once they reach their mature size at week 6, each quail needs approximately 0.8-1 square foot.
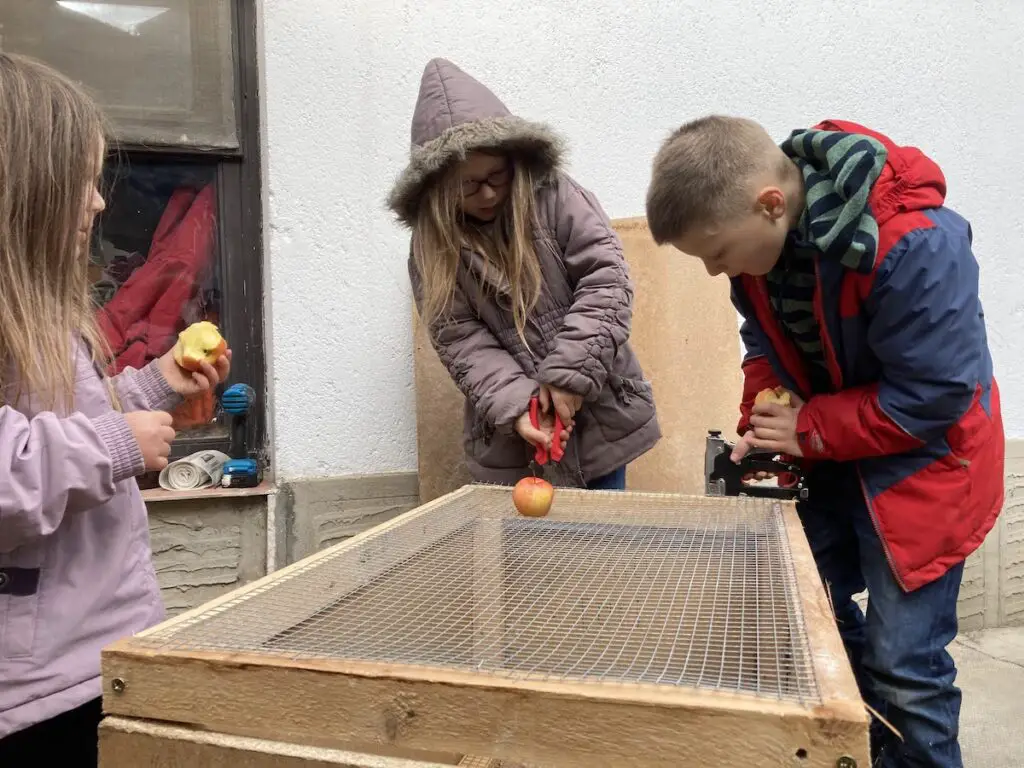
There are some ready-built brooders if you have a small number of birds, but setting up a DIY brooder is not too difficult if you intend to breed them regularly.
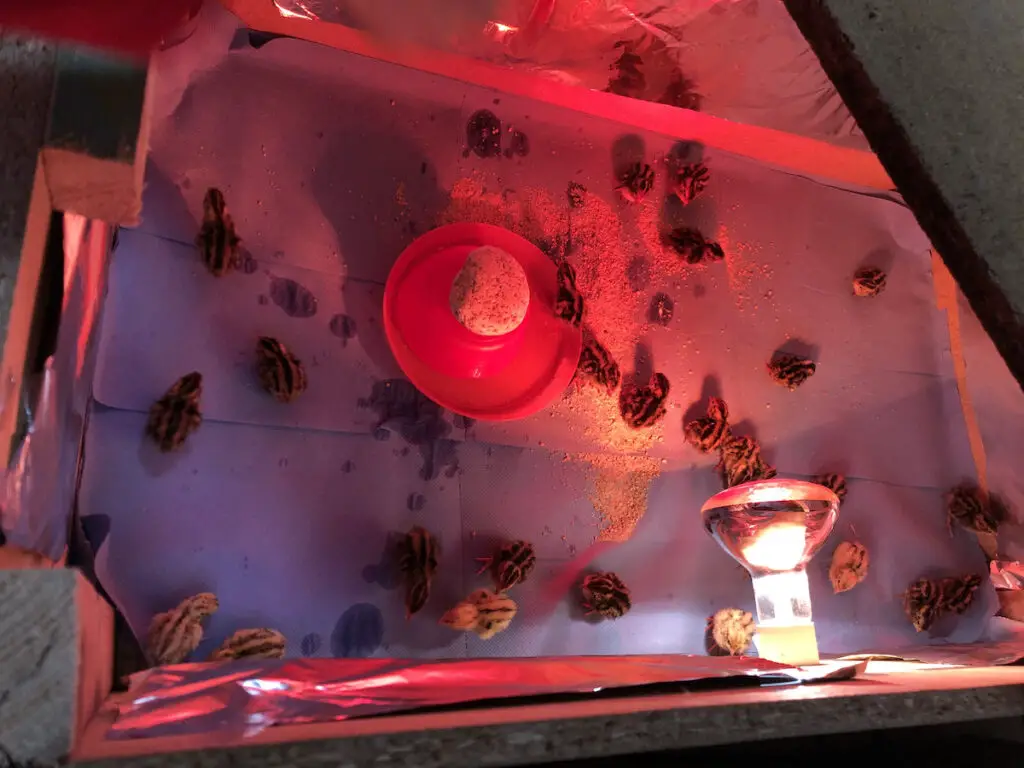
I built mine out of some scrap wood lying around and a 1/2″ hardware cloth used for the bottom and the top of the cage. I covered it with a paper roll used for car cleaning (it’s completely natural and non-scented). I only use the paper roll in the first 7-10 days, after which their feet will be sufficiently developed to walk on the hardware cloth.
I installed a tray under the hardware cloth, which collects their droppings once the paper gets removed from the bottom, and the droppings fall through the wire.
For drinking, I use a shallow plastic plate with a bowl placed in it upside down, so they only have access to the edges. This way, they can drink, but they don’t slip or take a bath on the plate. As they grow older, they get a proper poultry drinking fountain.
I installed a 100W infrared light bulb as a heat source, which proved to be insufficient to get to the right temperature in the 5-square-foot brooder, so I also installed a smaller 25W bulb. I also placed some tin foil on the inside walls of the brooder to keep as much heat inside as possible. This setup keeps the five sq ft brooder sufficiently warm so they feel comfortable and they don’t huddle together.
If you don’t feel like building your own brooder, you can also make an inexpensive one using some readily available materials.
Here’s what you need to build your own brooder that can house 15 quail chicks (I include some links to Amazon products for convenience):
- A box that houses the birds (it can be a simple plastic storage box like these, each of which is sufficient for about 20 baby quail)
- ½ inch hardware cloth to cover the box, which you can extend on a wooden lumber frame
- A heat lamp with a light bulb or a ceramic bulb, or a heating plate to keep the chick warm.
- A water dispenser (This needs to be shallow to avoid drowning. You can also put a few pebbles in the water)
- A feeder for food (this will be used after the first week, and can be moved to the quail cage when they grow up)
- Pine shavings or strong dispensable paper towels to be used as bedding.
If you live in an area where temperatures drop below freezing point and your chicks hatch in the winter, you should have a brooder built out of a few plywood boards and use Styrofoam for insulation.
Heat lamp vs. heating plate for quail brooder
You can use either a heat lamp or a heating plate to keep your brooder warm for your quail.
A heat lamp has been successfully used for many years, but it is more hazardous than a heating plate because it is an uneven and very hot heat source, which can cause some parts of the brooder to be too hot while other parts not warm enough. It should be close enough to the chicks to keep them warm but far away from them, so they don’t harm themselves or cause a fire.
The advantage of a light source compared to a heating plate is that you can see your quail under them and follow how they grow and develop. You can also point it in a way that it covers the area where the quail can feed and drink.
If your baby quail huddle together in front of the lamp, it means that they are too cold and you need to move the light closer. If they huddle together in the corner of the brooder away from the lamp, it means that there’s too much heat, and you need to move the light further away.
An alternative solution is to use ceramic heat bulbs. They don’t emit any light, and they don’t get as hot to the touch as to burn or pose a hazard, but they can cover a wide area to keep it warm for your chicks.
A heat plate, on the other hand, distributes the heat evenly, and it doesn’t pose a fire hazard or danger to the baby quail.
You adjust the temperature by moving the plate up and down on its legs, providing more or less heat depending on the environment.
The downside of a heating plate is that in order to keep warm, the chicks need to move under it. This prevents you from seeing what is happening under the plate. Also, in order to eat or drink, they need to move out from under the plate.
You can also use a heat pad to keep your quail warm. They are placed under the pine shavings to keep the birds warm from below. Some breeders don’t like this method because it can cause the ammonium to evaporate from their droppings, which creates a less than optimal environment for the chicks.
Mistakes to avoid / best practices
Your quail chicks are tiny and fragile, so you must pay attention to a few details when preparing the brooder.
Avoid using glossy newspaper for bedding. Their tiny feet can slip on glossy paper, especially once it starts to get soaked with their droppings. You can use pine shavings instead. You can also use hay if you cut it into small pieces. A large pile of uncut hay prevents you from finding them in the brooder.
Avoid using a feeder in the first week. Since your quail chicks are so small, they won’t be able to feed from it in the first few days. Place their food on a piece of kitchen towel or a piece of cardboard instead. Change the cardboard regularly because they will leave their droppings where you serve their food.
Avoid placing the heat lamp too close to them. If you decide to heat the brooder with a lamp instead of a heating plate, it takes trial and error to get the temperature right. If you place it too close, it overheats and concentrates the heat to a small area, leaving the other parts of the brooder cooler. If you place it too far, it won’t provide sufficient heat.
You will know if your chicks are cold if they flock together and don’t want to separate even after a few hours.
It’s a lot more critical to keep the temperature constant at 100 degrees during the incubation process than it is in the brooder. You don’t need to monitor it constantly, but if you keep an eye on the birds, you can easily tell if they are cold or not.
Avoid giving them full-size grain starter. Either look for quail specific starter that has been ground or grind the starter in a mixer so they can ingest it.
Common sense
Baby quail aren’t difficult to look after. If you monitor them regularly and pay attention to a few basics, you can make adjustments as you learn about them and as they grow.
Happy quailing!
